Getting rid of a bee's nest in your wall cavity is no problem at all. It is quite straightforward to do, without the need for any complicated tools or skills. All that needs to be done is finding and accessing the hive, applying some sort of pesticide or insecticide, sealing the cavity afterward using silicone caulk, and lastly doing proper cleanup after everything is over. By following these steps, you should be able to successfully get rid of a bee's nest in your wall before it can cause further harm.
{tocify} $title={Table of Contents}
Preparing for Bee Nest Removal
Essential tools and equipment needed for removing a bee nest in a wall cavity will include protective clothing such as a beekeeping suit, gloves, veils, and goggles. A shovel, spade, or trowel may be used to detach the nest from the wall once it has been located. An electric vacuum cleaner with an extension hose could come in handy for sucking up any remaining bees after the removal work is complete.
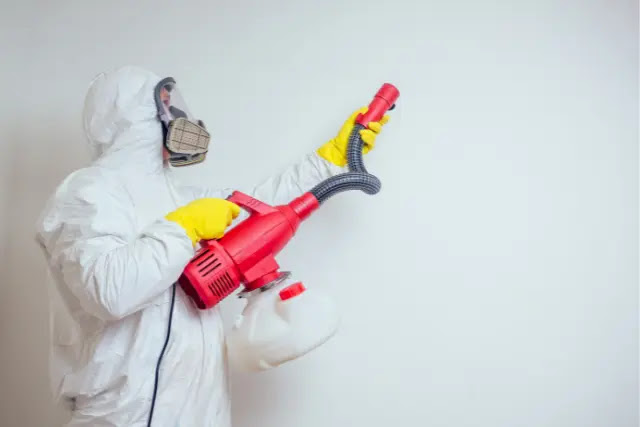
Safety gear and precautions are essential when carrying out bee nest removal due to potential stings or other injuries that can be sustained while engaging in this activity. The use of protective clothing is highly recommended; wearing thick layers of cotton fabrics helps to protect against potential stings caused by agitated worker bees defending their colony and queen. Further safety considerations include appropriate footwear (such as steel toe cap boots), and hats with wider brims or hoods to better shield your face from accidental contact with distressed honeybees.
It's important to pick the right time when doing any work on removing a bee nest. Doing it in the cooler early mornings or evenings can help because bees won't be as active and won't respond aggressively. Cloudy days with light rain are also good since agitated hives can be dangerous.
Step-by-Step Bee Nest Removal Process
Step 1: Assess the size and complexity of the nest
To assess the size and complexity of the bee nest, you’ll need to view it through an opening in the wall where the bees are entering and leaving. If possible, try to identify which type of bee is nesting within your walls – this can help narrow down removal possibilities. Once you have viewed the nest, make sure to determine how large it has become and if there are any signs of swarming or other complications that could arise during removal.
Step 2: Seal off entry and exit points
If you’ve identified the entrance and exit points of a bee nest, make sure to seal them off. You can use a caulking gun or putty to close up any openings that lead into the wall cavity. This is important for both preventing more bees from entering your walls, as well as protecting yourself while performing the removal process. Seal these entry and exit points tightly since bees are good at finding their way inside through even small gaps or cracks in walls or ceilings! Closely inspect crevices around windows, doors, vents, light fixtures, wires, pipes, and other penetrations into wall cavities for potential entry points.
Step 3: Apply smoke or any appropriate insecticide
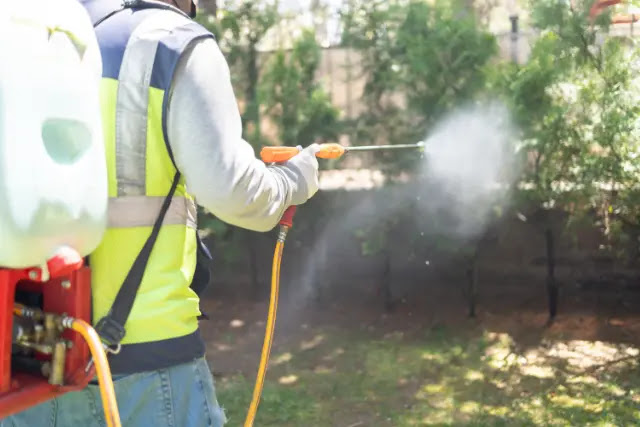
Smoke is a great option for getting rid of bees because it will both disorient and irritate them while also preventing other bees from coming into the area. You can purchase various types of smoker applicators at your local hardware store. Insecticidal dust like pyrethrum dust can also be applied at least 6 inches deep inside the wall cavity where the nest is located and reinforced by either a foaming agent or light oil application around the exterior walls. When using an odorless aerosol spray, make sure you leave plenty of ventilation in your home before usage as it may cause adverse effects on people with respiratory disorders if used too heavily indoors. If using any type of pesticide, always read and follow label instructions carefully for the best results.
Step 4: Extract the bee nest from the wall cavity
The bee nest should be extracted from the wall cavity carefully and quickly. The best way to do this is with a vacuum cleaner as it creates suction which will easily extract the bees, honeycombs, and other components of the hive all in one swoop. Make sure you have an old towel or sheet available before beginning this process. Start by placing the nozzle of your vacuum clean right up to where you believe the entrance holes are for the bees coming into and out of their nest. Ensure that all vents connected to this area are covered so no bees can escape during extraction then turn on your vacuum cleaner at its lowest setting. As soon as everything has been drawn inside, stop vacuuming immediately and unplug or turn off your machine.
Step 5: Safely dispose of the nest material
The best way to dispose of a bee nest is by sealing the material in a plastic bag and disposing of it carefully. Make sure the bag is disposed of safely, as exposed honeycomb can attract other bees or wildlife. Doing this helps prevent further nests from being built inside your home. Alternatively, you may be able to donate it for research purposes such as DNA analysis, or educational purposes such as dioramas. Contact local entomological organizations for more information about these options!
Step 6: Cleaning and sanitizing the affected area
Once the bee nest has been removed, it is essential to clean and sanitize the area to ensure no stray bees are remaining. To begin, one should use a vacuum cleaner equipped with a brush attachment to remove any excess debris in the cavity. Next, make sure that all surfaces within the wall cavity—including the ceiling in an attic space—are wiped down using an appropriate cleaning solution such as vinegar water or warmer soap and water mixture. Both solutions will help break down the remaining pheromones of returning inhabitants; clothes can be used for this process as well. Then finish off by disinfecting all surfaces with either alcohol wipes or white spirit before allowing them to dry completely.
Post-Removal Care and Prevention
After a bee nest has been safely removed from your wall cavity, it is important to take care of the area and prevent any future nests from appearing. To ensure that all bees have been effectively eliminated, you should keep an eye on the area for several days or weeks following removal. As far as preventive measures go, avoid having plants around your house that can provide a potential food source and flowers that may attract bees. Don’t store any sweet-smelling items near or inside wall cavities either because these can serve as enticing scents for insects including bees. Moreover, set up physical barriers like window screens and protective netting if possible to further deter them from nesting again in those areas.
Conclusion
Removing a bee's nest from a wall cavity can be difficult but it is possible. The most important step in getting rid of bees' nests in cavities is to identify the species and evaluate the risk they present. Once you have identified that the bees are non-aggressive then there are several removal methods. Physical removal, such as using an extension pole and vacuum cleaner; chemical application; or hiring a specialist bee remover are all options available for safe and effective removal. It is always best to employ professional services for bee removal when dealing with multiple colonies of honeybees or other aggressive species of bees, as this will ensure their safety and yours.


